
Articles are written in a visual editor, similar to Word. You can save an article as a draft and publish it later.
Write the article
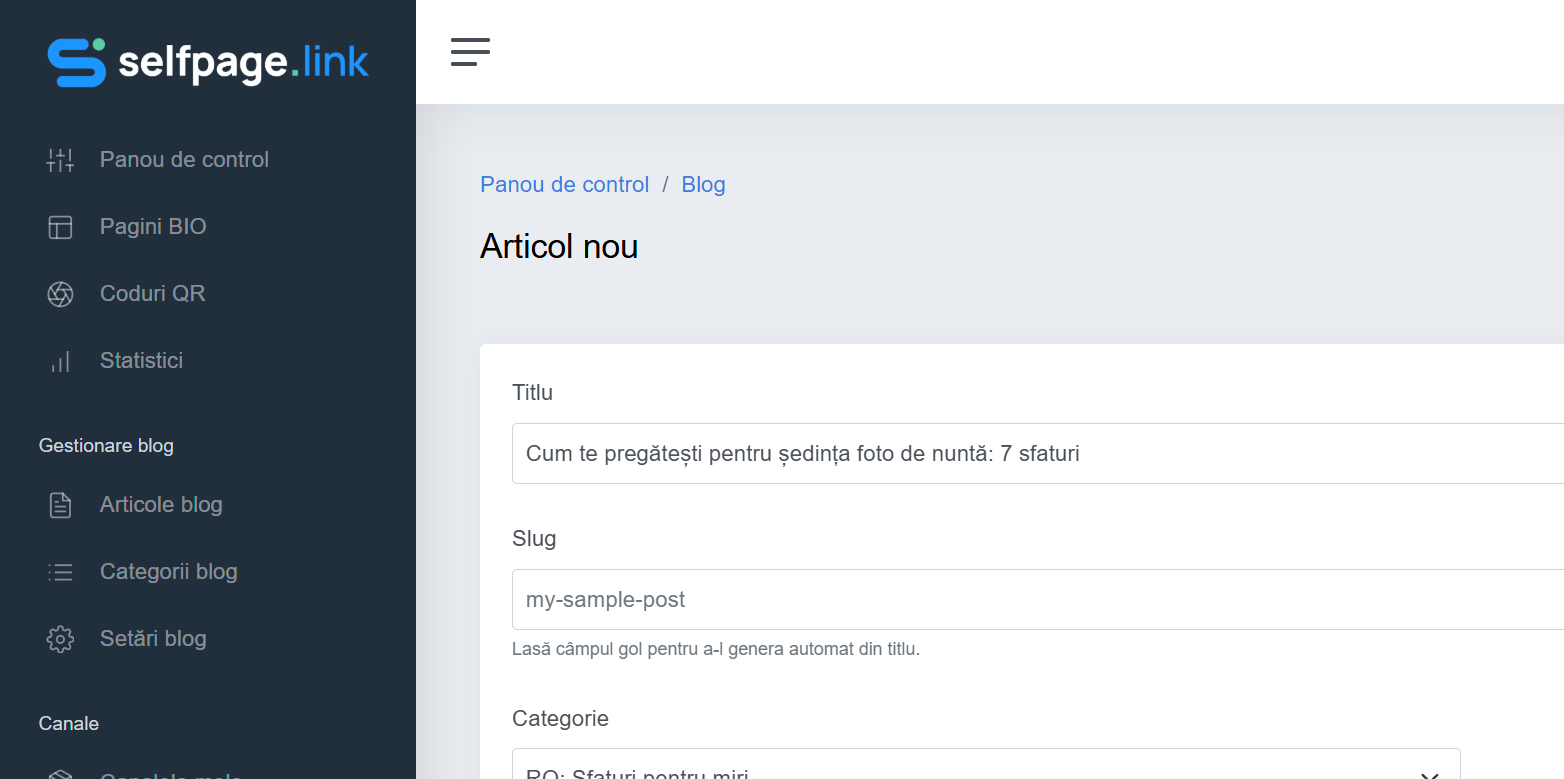
- Open Blog Management → Blog articles and click Add Post.
- Fill in the Title.
- Slug – the article's address. Leave it empty and it's generated automatically from the title (for example
how-to-prepare-for-your-photo-shoot). - Choose the Category. In the list, each category is shown with its language in front, for example EN: Tips for couples. If the list is empty, create a category first.
- Under Featured Image, upload the article's main image. The recommended size is 720×300 px; the thumbnail for the article list is generated automatically.
The content
Write the text in the editor under Content. The toolbar lets you add:
- bold, italic, underline, text color and size, highlighting;
- headings and subheadings (the Paragraph list) – use them to split the article into sections;
- alignment, bulleted or numbered lists, checklists, quotes and divider lines;
- links, images and tables;
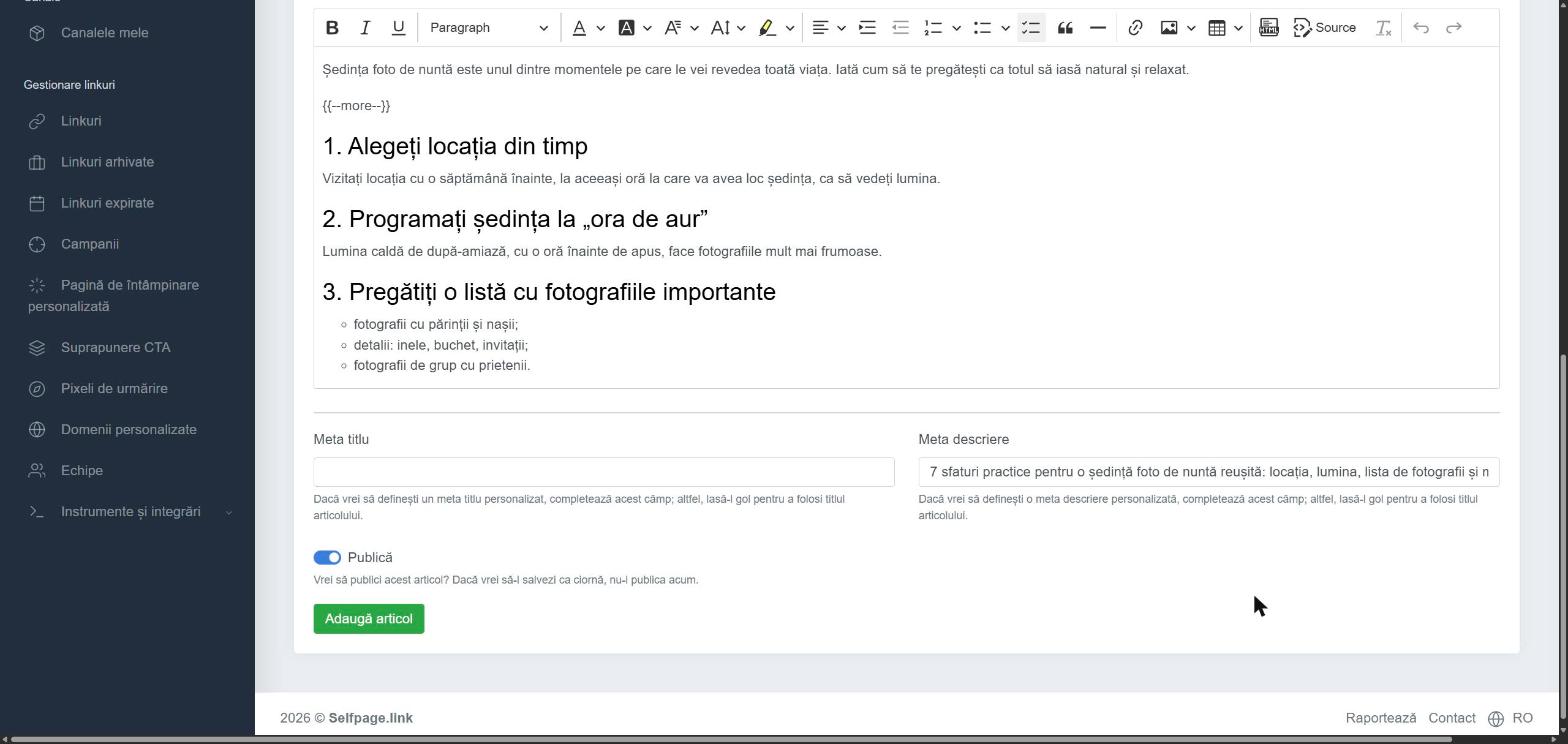
- Source – edit the HTML code directly, for advanced users.
The excerpt on the blog page: on the blog, each article is shown with an excerpt. Type
{{--more--}}on its own line where you want the excerpt to end. Without this tag, the first 250 or so characters are shown automatically.
SEO and publishing
- Optionally, fill in the Meta Title and Meta Description – the text shown in Google and when the article is shared on social networks. If you leave them empty, the article title is used.
- Turn on Publish if you want the article to appear on the blog right away. Leave it off to save it as a draft.
- Click Add Post. You'll see the message Blog post has been added successfully.
For later changes or to publish a draft, see How do I edit, publish or delete articles?
Tips for articles people read: a title that clearly says what the reader gets ("7 tips for…"), frequent subheadings, short paragraphs and a good-quality featured image.